
How to use safety laser scanner for anti-collision in factories?
Factory “anti-collision” has two distinct outcomes: protect people (requires a validated safety function) and avoid equipment collisions (warn, slow, or reroute). Use a safety-rated laser scanner for the first outcome, and industrial LiDAR for the second. This guide sets out a planning workflow: risk & standards → field design & sizing → wiring & logic → commissioning & validation → maintenance & change control. The aim is predictable behavior on real floors with oil mist, reflectors, forklift glare and vibration.
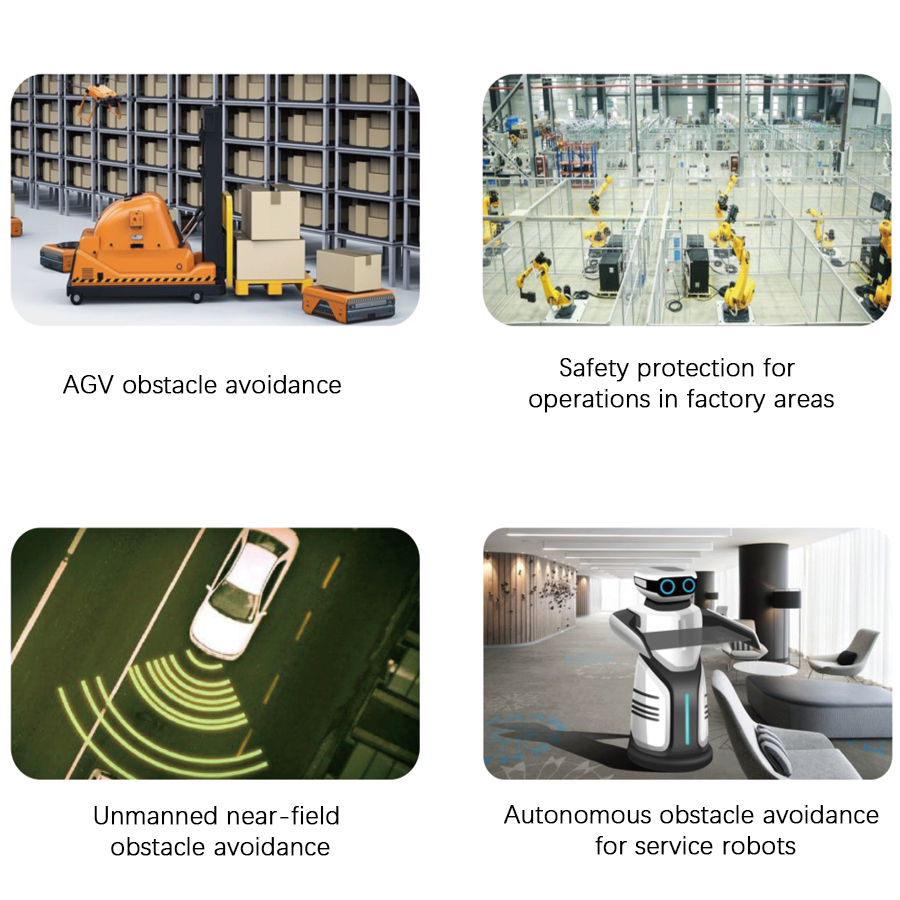
1) Choose the right class — safety scanner vs. industrial LiDAR
| Class | Primary purpose | Standards & notes | Typical scenes |
|---|---|---|---|
| Safety laser scanner | Human protective stop — certified device provides supported safety outputs (OSSD or a documented safety communication interface) to compatible safety logic. | Meets IEC 61496-3 (AOPDDR). System validation to ISO 13849-1 (PL) or IEC 62061 (SIL). Safety distance by ISO 13855. | Robot cells, press lines, AGV safety stop, collaborative zones with approach hazards. |
| Industrial LiDAR | Collision avoidance & navigation aid — detection layer for warning/slow/route change (non-safety). | Check the exact environmental/EMC specification; ordinary obstacle-avoidance LiDAR is not safety-rated. Combine with certified safety measures if people are exposed. | Aisle monitoring, AGV obstacle detection and perimeter pre-warning. Navigation data and interfaces depend on the model. |
Compare the current DAIDISIKE LiDAR and safety-scanner range by role before choosing a model. If you are still defining the sensor requirements, use the industrial LiDAR selection checklist; the steps below focus on implementing and accepting a factory installation.
2) Engineering workflow — from risk to verified stop
- Risk assessment — Identify hazards, exposure and possibility of avoidance (ISO 12100). Determine required PLr or SIL for safety functions.
- Motion model — For vehicles, capture nominal/max speed, acceleration/braking, controller latency; for machines, capture worst-case stopping time.
- Field strategy — Typically three layers: Warning → Slow/Creep → Stop. Safety scanners switch protective fields by speed/direction where supported and validated; industrial LiDAR feeds PLC logic for early slow-down or reroute. Warning zones do not automatically become safety-related fields.
- Mounting & FOV — Select scan-plane height, orientation and resolution from the application and device manual. Check floor variation, load overhang, corners and obstructions; additional scanners or physical guards may be necessary.
- Interfaces — Safety OSSD/safe bus for safety scanners, according to the specific variant and integration manual. For industrial LiDAR, confirm the actual NPN/PNP or data interface and its timing; a connector or Ethernet port alone does not establish a safe communication channel.
3) Sizing protective/detection distance
Fixed machinery — Apply the relevant provisions of ISO 13855. The familiar basic relationship S = K × T + C explains the time and intrusion allowance, but is not a complete installation calculation. Here T is total stop time (sensor response + controller delay + mechanical brake), and C is intrusion allowance based on the applicable detection geometry. Use the current edition and device instructions for all additional terms and minimum distances. Always measure stop time and file the record.
Mobile platforms (AGV/AMR) — Use ISO 3691-4. Account for travel during the complete response time, braking distance and the required tolerance/geometry supplements. Convert time delays to travel distance; do not add seconds directly to metres or double-count delays already included in a measured stop. Verify every used speed/direction field set with the worst-case permitted load and floor conditions.
4) Installation rules that avoid false trips and blind spots
- Height & tilt: use the mounting geometry allowed by the device manual. Do not tilt a protective plane merely to suppress false trips; verify that people cannot pass over, under or through an unmonitored area.
- Corner coverage: plot each scanner's actual field of view, blind zone and obstructions. Where multiple sensors are needed, validate their combined coverage rather than assuming a fixed overlap percentage removes every gap.
- Reflectors: check the manual's reflector and contamination limits, keep windows clean and use only permitted protective accessories. Do not add an unapproved cover, film or housing in the optical path.
- Cabling & EMC: segregate from VFD/motor runs; use shielded cables; bond housings; verify margins with the machine at full duty.
5) Logic & I/O — make the stop deterministic
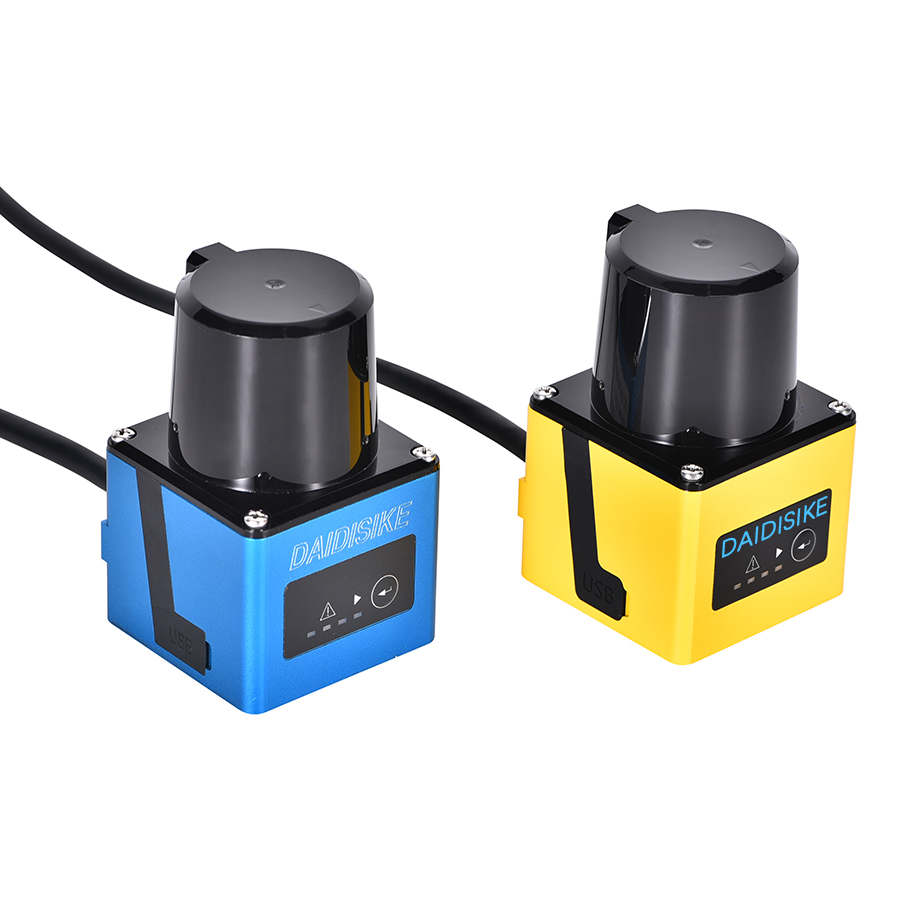
- Safety scanners: wire OSSDs to a safety relay/PLC using the approved interface. Implement restart interlock, external device monitoring (EDM) and field selection where required by the safety design and supported by the actual components. Do not assume all scanner/relay combinations provide these functions.
- Industrial LiDAR: ordinary NPN/PNP outputs may command pre-warning or operational slow-down. Personnel protection must remain the responsibility of a separate validated safety function, including when a warning is absent or late.
- Muting/blanking: do not create a bypass by simply adding timers or masking a detection zone. Where a risk assessment permits such a function, use supported safety functionality and validate all enabling conditions, limits and failure responses.
6) Commissioning & validation — what to prove
Treat the following as a record template, not proof that an installation has passed. A qualified integrator must approve the test plan and release decision. Use the test objects and procedures specified by the manufacturer; never place a person in hazardous motion to test a stop.
| Item | Acceptance criterion | Evidence |
|---|---|---|
| Stop distance | Field and separation distances cover the complete worst-case stop and all required supplements for the application | Stop-time test report; ISO 13855/ISO 3691-4 calculation sheet |
| Coverage | No blind spots at corners, under pallets or around fixtures | Field plots; manufacturer-specified test-object coverage checks |
| EMC/ambient | Required detection is maintained within permitted environmental limits; diagnose nuisance trips without weakening protection | Site observations at production duty and prescribed checks; not a substitute for EMC type testing |
| Fields, faults & restart | Each used mode, field transition and required fault/restart response matches the validated design | Mode/field matrix; planned power-restoration and fault-test results; reset/restart checks |
| Change control | Config locked; changes auditable | Parameter printout; password policy; revision log |
Release in stages, with traceable evidence
- Before energizing: record model, manual revision, circuit drawing, field configuration and risk-assessment reference.
- During controlled testing: log test conditions, measured stopping performance, coverage and field-transition results without exposing personnel to hazards.
- Before production: resolve failed tests, record the competent person's actual approval, train operators and archive the accepted configuration.
7) DAIDISIKE quick spec map (for planning)
| Model | Range | Outputs | Typical role |
|---|---|---|---|
| DLD05A3-3N / DLD20A5-5N obstacle-avoidance LiDAR | 5 m / 20 m detection variants; not protective-field ratings | Ordinary NPN switching outputs; confirm exact output variant | Equipment obstacle warning and operational slow-down. Not a safety-rated personnel-protection device. |
| ST27 Type 3 safety laser scanner | 3 m / 5 m protective-field variants; check the exact configuration | PNP OSSD on the applicable variants; follow the specific manual | Type 3, PL d, SIL 2 device for a validated safety function. The device rating does not certify the complete machine. |
For human protective stop, use a safety-rated laser scanner (IEC 61496-3) and validate the safety function to ISO 13849-1 or IEC 62061. The older DLD05A-1N / DLDO5A-1N and DJNS 20A5-5N names are not being declared equivalent to the current products above. Send a nameplate photo and datasheet when identifying a legacy installation.
8) Maintenance & change management
- Pre-use: perform the checks required by the manual and site procedure, including lens cleanliness, indicators, connectors and new occlusions.
- Periodic: have qualified personnel reassess stopping performance and coverage at the defined interval; account for contamination, wear and the manufacturer's requirements.
- After changes: any software/PLC update, speed change or layout shift requires re-validation before release.
- Records: exported parameter set, stop-time logs, test checklists, and revision history stored with the machine file.
9) Standards you will cite in reports
Standards define different parts of the problem. A device certificate is not a completed machine safety assessment. For the distinction, see what IEC 61496-3 means for a safety-rated scanner. Use the applicable editions, machine-specific standards and the exact scanner manual for the project.
- IEC 61496-3:2025 (official commented-version listing) — AOPDDR protective-device requirements. It does not determine the field layout or approve a particular machine installation.
- ISO 13855:2024 — Positioning of safeguards; safety-distance formulae and parameters.
- ISO 3691-4:2023 — Driverless industrial trucks (AGV/AMR) safety requirements.
- ISO 12100 — Risk assessment & risk reduction framework for machinery.
- ISO 13849-1 / IEC 62061 — Functional safety (PL/SIL) at system level.
- ANSI B11.19 — Performance requirements for risk-reduction measures (North America).
Manufacturer example: SICK S300 operating instructions, commissioning and test notes explain documented testing and qualified release. This is a reference for the verification process, not a substitute for a DAIDISIKE manual or evidence that models are interchangeable.
Frequently Asked Questions
What is the difference between a safety laser scanner and an industrial LiDAR?
A safety laser scanner detects people within a configured protective field and sends safety outputs to a validated stop function. IEC 61496-3 covers the protective device, not approval of the complete installation. Ordinary industrial LiDAR provides navigation or obstacle detection without a personnel-protection safety rating. A non-safety detection zone cannot replace the safety-rated protective function.
How do I size the protective field of a safety scanner?
The protective field must account for the approach speed, the scanner's response time, the vehicle or machine stopping distance, and a margin for measurement tolerance and ground clearance. On a moving platform a longer stopping distance means a larger field. The field is verified against the standard after installation.
How do I mount a safety scanner to avoid blind spots and false trips?
Mount at the height and angle specified for the application, keep the scan plane clear of fixed structures and reflective floors, and respect the minimum distance from walls. Contamination, vibration and reflective surfaces are common causes of false trips, so plan cleaning access and stable mounting.
How do I make the stop deterministic?
Connect the scanner's supported safety outputs to a compatible safety controller or relay using the exact manuals. Validate the complete detection-to-stop response, field-selection logic and required restart behavior. Do not treat ordinary NPN/PNP warning outputs or standard network data as safety outputs, or assume that every scanner and relay provides the same reset and monitoring functions.
What should I prove during commissioning?
A qualified integrator should verify coverage, worst-case stopping performance, every used field set, transitions and the restart behavior required by the risk assessment. Plan fault and power-restoration tests using the device manuals. Use specified test objects without exposing people to hazardous motion. Record the configuration revision, test conditions, results and release decision; an automatic teach-in result is not a completed safety validation.